How to use Jingwei: choosing visible layers
Do not rely on corner logos alone. Jingwei is usually two layers. Visible anti-theft plus invisible attribution. Each effect below has a guide test pair.
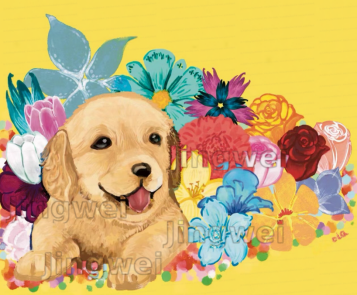
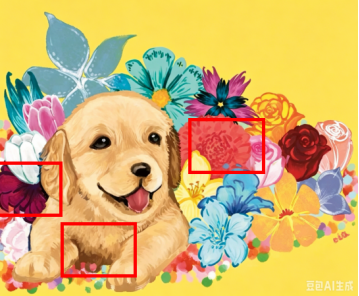
Upload on Protect. Quick Credit is the default. Switch to Manual to set each layer yourself. Drag dashed boxes in preview, generate preview, refine with eraser, export. About half a minute. Files deleted after processing.
Displacement watermark
Slightly shifts pixels under text so the signature merges with the image. Three layouts. Grouped word, random scatter, tile repeat. Place signatures on subject edges or contours.
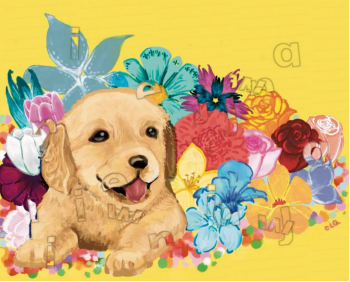
Halftone and ASCII
Halftone embeds fine grains into high frequencies. ASCII covers the frame with character texture. Both look acceptable at normal viewing. AI flattening often leaves blocks or breaks.
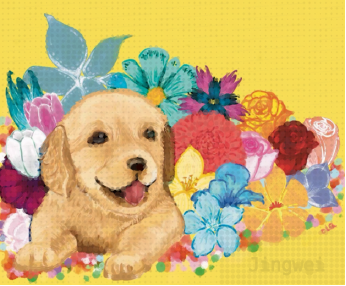
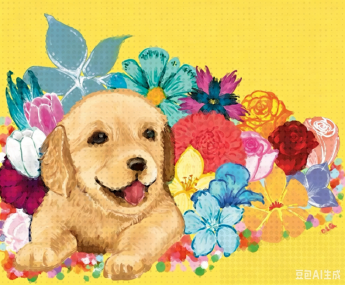
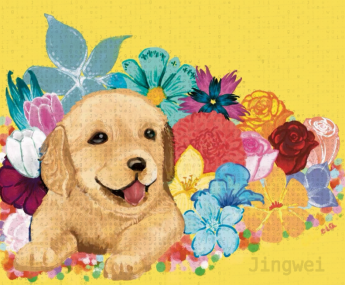
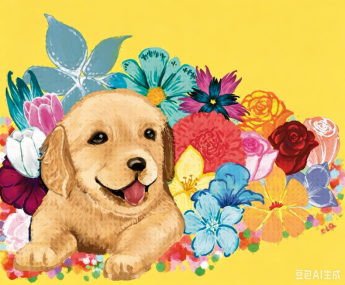
Emboss texture
Light global diagonal lines changing edges and grain. Less suited to flat minimal art. Better for illustration, photos, and character art.
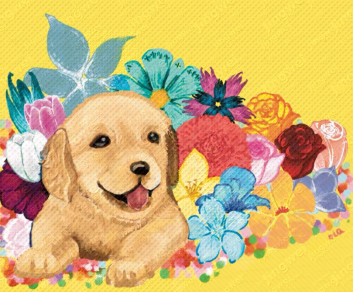
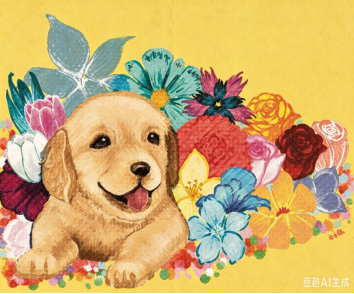
Blur bar and face emboss lock
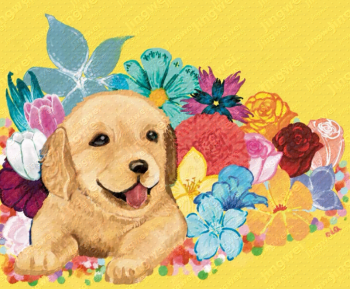
Blur bar adds visible blur strips for delivery previews and key regions. The pair below is a blur-bar test.
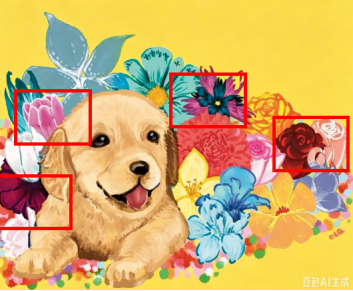
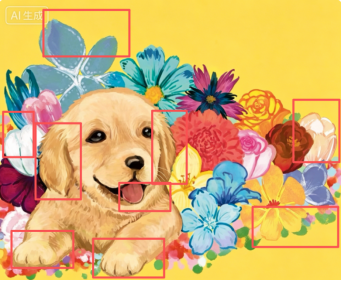
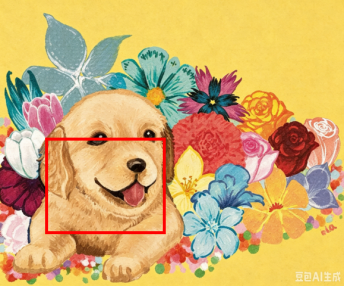
Face emboss lock strengthens facial regions against face-swap and local repaint. Red boxes mark areas that still look wrong after AI face repair.
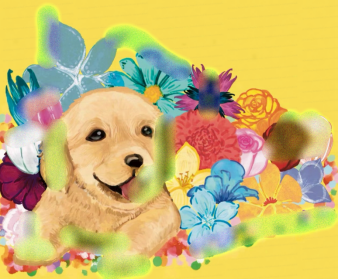
How to stack layers
A common stack is displacement or halftone, plus JW declaration, plus frequency watermark. A quiet stack is invisible layers plus tracking anchors.
Full guide pairs are on the test matrix page. How to make your watermark survive AI watermark removal explains why AI watermark removal is easy. This post explains how to pick layers.