What is Quick Credit? A verifiable ID for your image in 30 seconds
Quick Credit is Jingwei's default Protect mode on jwprotect.com. You type a creator name, and the tool writes a machine-readable JW claim plus a faint on-image mark. Everyday posting takes about 30 seconds, no account, files deleted after processing.


Searches like free watermark or stop AI from removing my watermark usually fail on friction, not theory. Quick Credit is the short path. Write the ID first, keep the picture clean enough to post.
What is Quick Credit mode?
Quick Credit is the default mode on Jingwei's Protect page. After you enter a creator name, Jingwei turns on the JW declaration. Name, creation type, and usage limits are written in a machine-readable form. It also adds a very light visible mark so people can tell the file was protected, without a corner logo that inpainting tools treat as a separate object.
How is it different from Manual mode?
Quick Credit and Manual do not share sliders. Quick Credit is its own fixed faint recipe, separate from Manual with the knobs hidden.
In Quick Credit, entering a name writes JW. The visible mark is a fixed faint recipe (faint characters or light displacement, chosen from the picture, or forced by you). A logo becomes one faint stamp. There are no toggles for tiled displacement, emboss, blur bars, or face lock, and you cannot place or darken a logo by hand. The point is a ~30-second post, with a clean picture.
In Manual, every layer is on or off, every slider yours. Put a logo in a chosen corner, tile displacement, stack emboss or face lock against the test matrix. That is Manual. The faint characters and displacement you see in Quick Credit are not the Manual strength sliders.
How do I use it? Three steps
Open Protect, leave Quick Credit selected, upload PNG / JPEG / WebP (export iPhone photos to JPG first). Type the creator name. Optionally add on-image text or a logo. Click Start protect and download the PNG. About 30 seconds. No AI models touch the upload. The server deletes it afterward.
Displacement example. The textured puppy
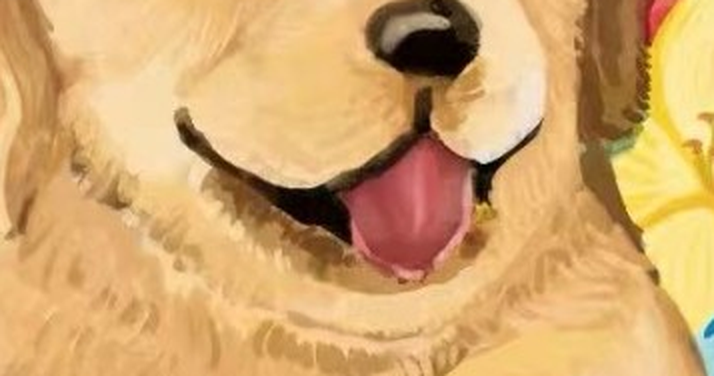
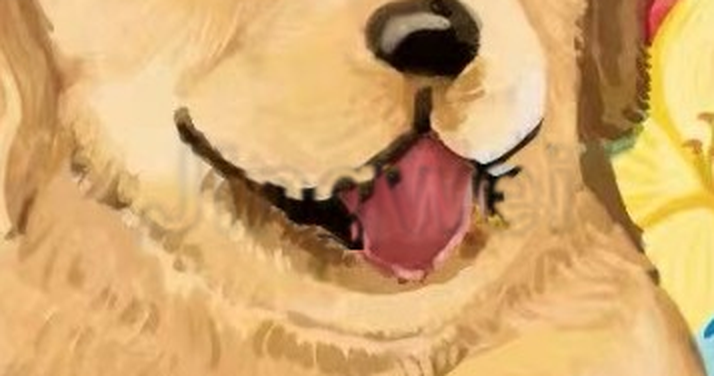
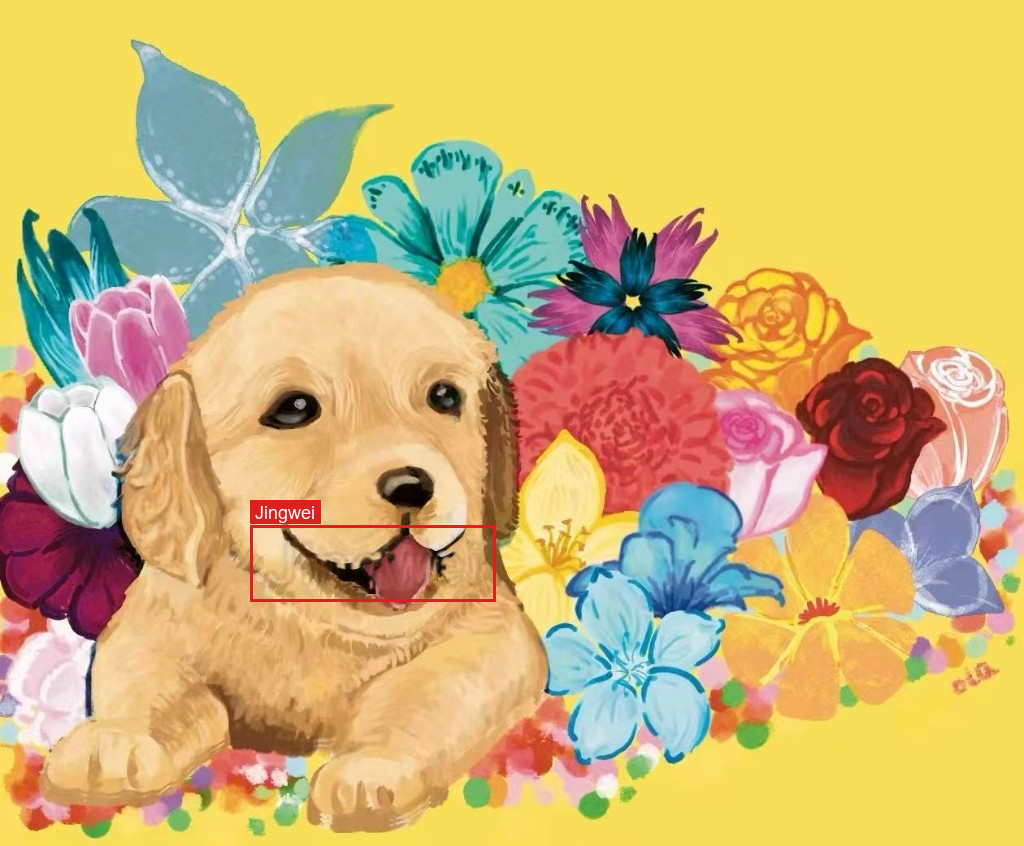
Auto sees fur and petals as texture, so it usually applies light displacement (about 7% font, 3 px shift, soft shadow, the c024 test rung). The letters are not a pasted color block. Host pixels are nudged into Jingwei. The red box marks where that mark sits across the puppy's face.
This is the test-dog signature on the face, not a stamp on the blue flower. Host pixels on the face are nudged into Jingwei. The red box is the locator for where the mark sits on the face.
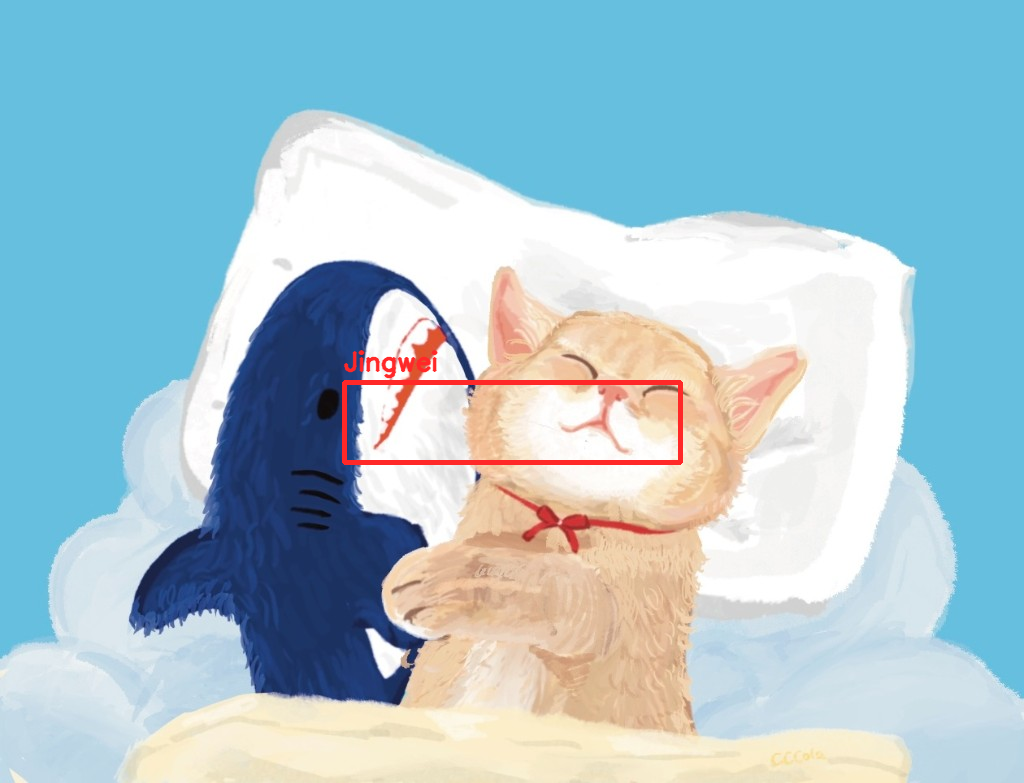
Faint-character example. The flat cat
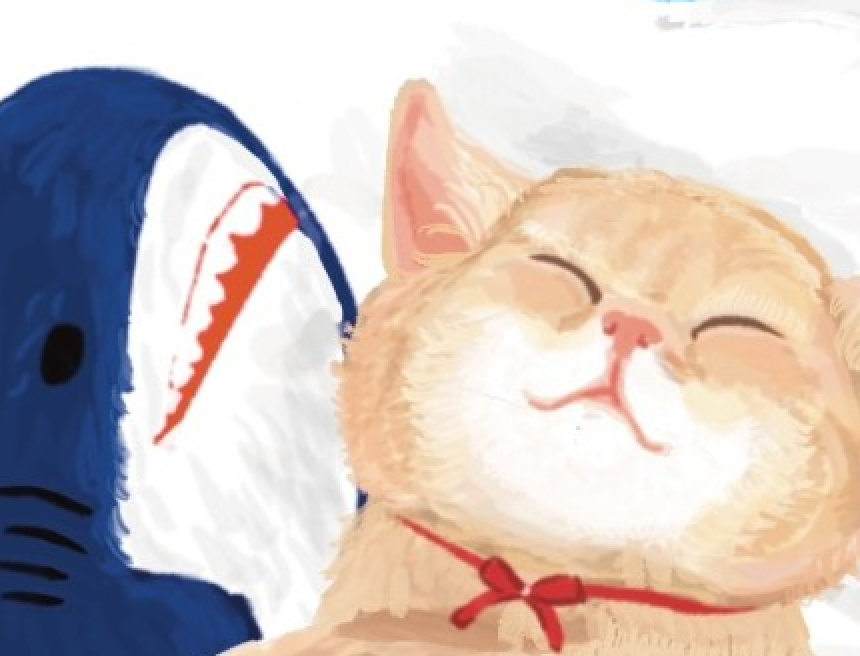
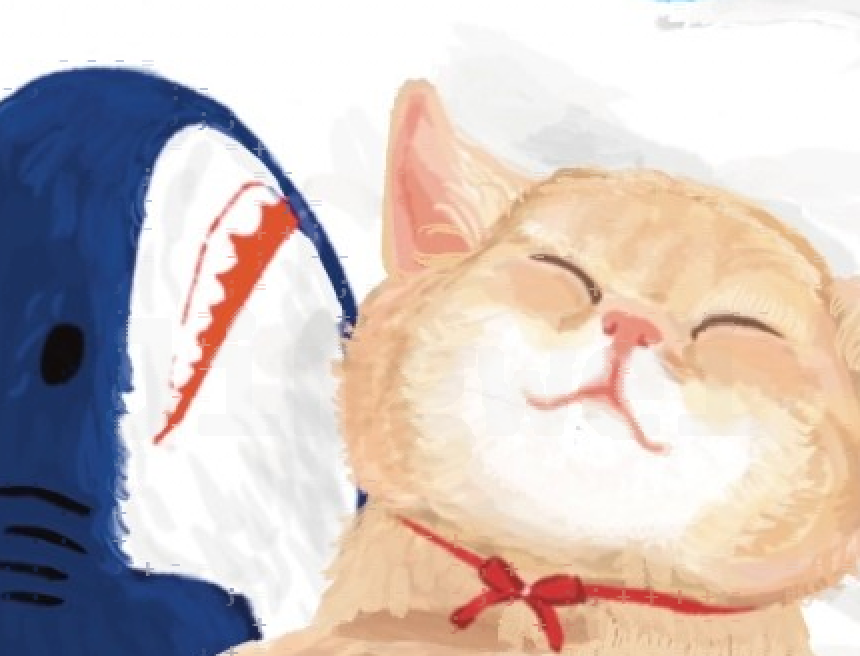
Flat illustration and large color fields take the other path. A very light full-frame speckle/character layer, plus one dotted signature in the middle. This is the real Protect faint-character output, separate from the Manual contrast sliders.
From far away it still reads as the painting. The faint mark covers the frame and does not steal the cat or the shark. Zoom and you get tiny crosses and dots, not a loud letter sheet. The red box is the dotted signature. The rest of the frame has an even fainter speckle.


How do I verify the file afterward?
Upload the PNG you just downloaded on the Verify page. No login. Jingwei reports JW, frequency-domain, LSB, metadata, and tracking anchors separately. Not found does not prove the file was never processed. Found is supporting evidence that Jingwei touched it. Keep the uncompressed export if a dispute starts.
When should I not stop at Quick Credit?
If you need to raise the cost of targeted wipe, face swap, or inpainting, switch to Manual and add tiled displacement, emboss, blur bars, or face lock, then use the test matrix. Quick Credit optimizes for a mark that stays verifiable without looking ugly. It is not maximum anti-wash strength.
Export PNG when you can. JPEG can weaken invisible layers. Do not flatten transparency to JPEG.